- Prep Time: 3 hours
- Cook Time: 25 minutes
- Total Time: 3 hours, 30 minutes
- Yield: 12–16 hand pies
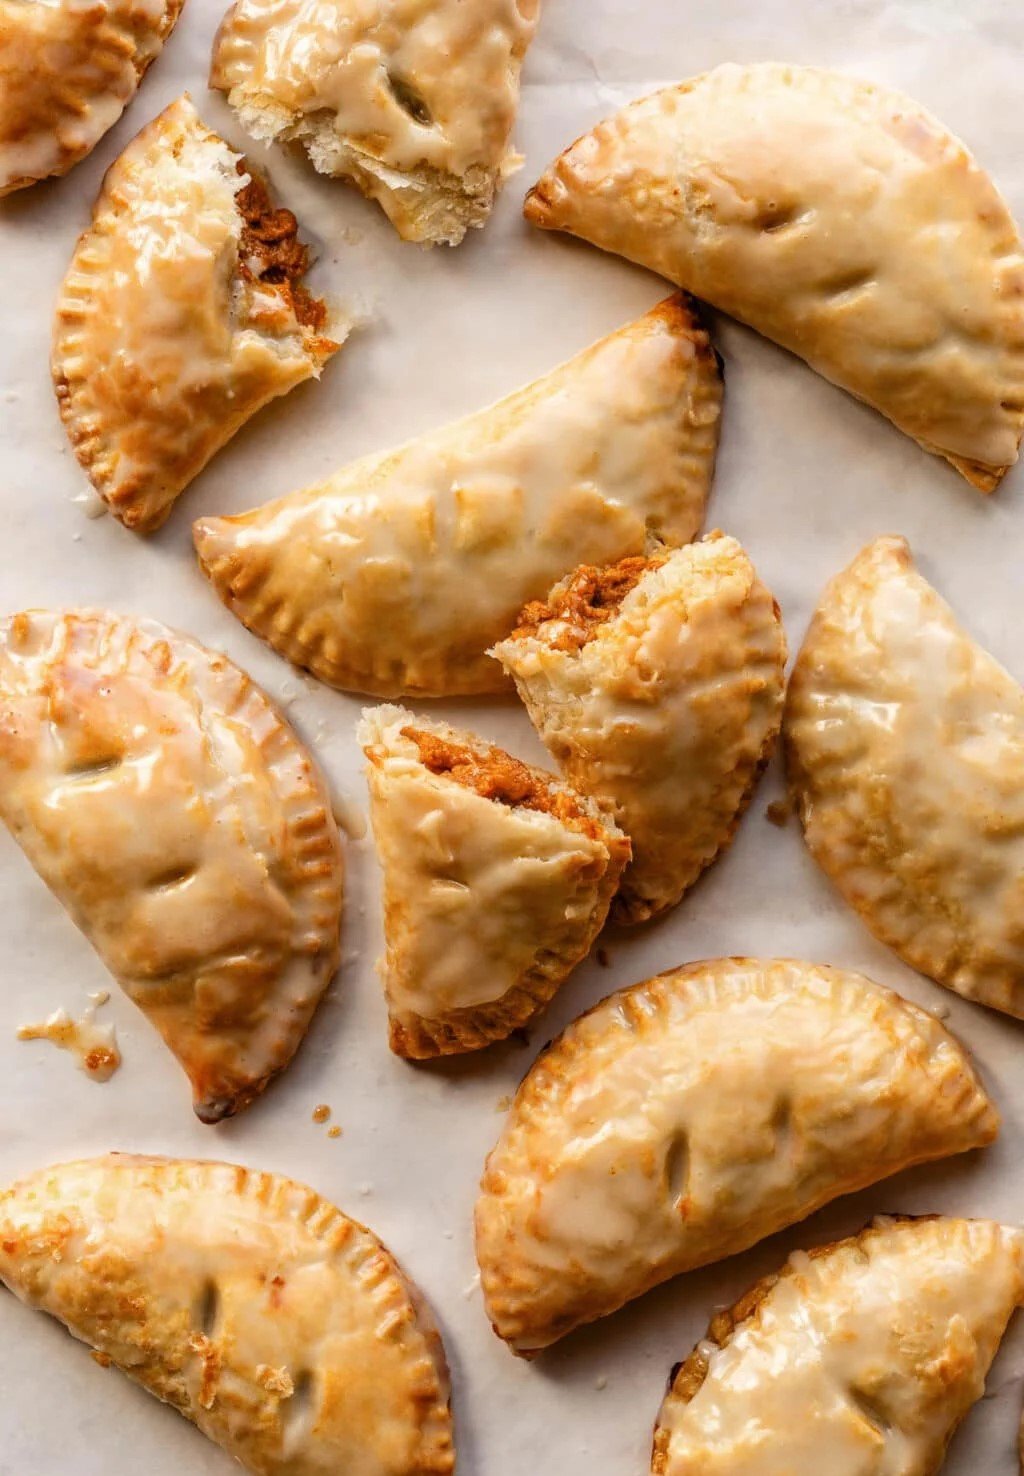
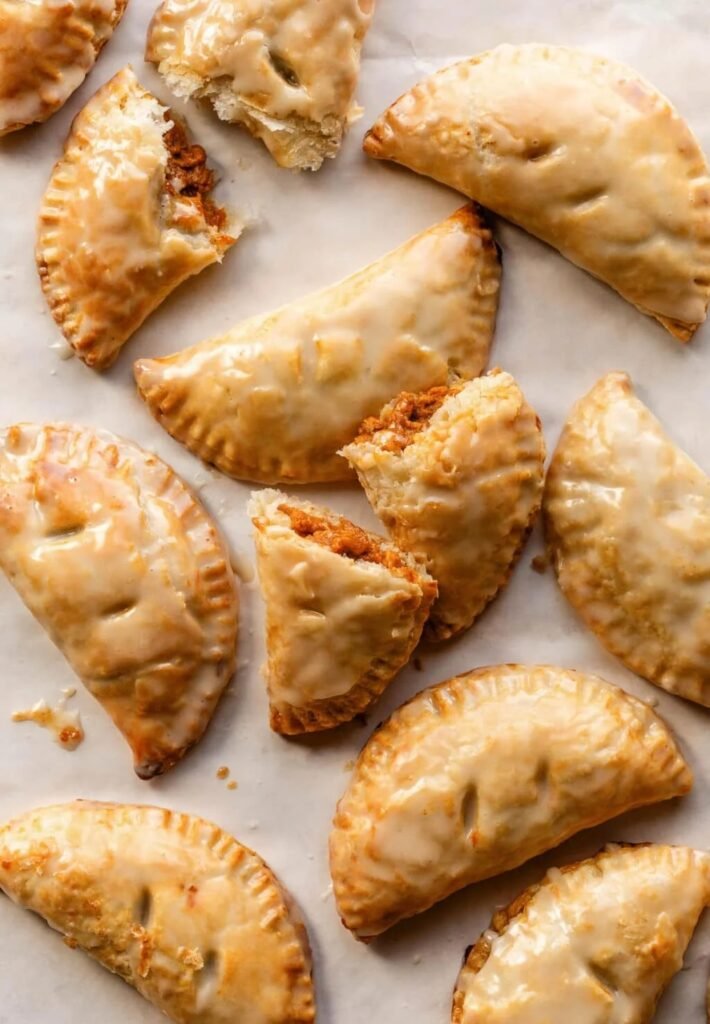
These pumpkin hand pies start with a homemade pie dough, are filled with a simple pumpkin pie filling, and finished with a sweet maple glaze that sets. Use homemade pie crust for best flavor, or choose store-bought pie dough for a shortcut. Use the step photos above as your guide for shaping.
Ingredients
Crust
- All-Butter Pie Dough (what I used) or Homemade Pie Dough
- egg wash: 1 large egg beaten with 1 Tablespoon milk
Filling
- 1 and 1/4 cups (282g) pumpkin puree*
- 1 large egg
- 6 Tablespoons (72g) packed light or dark brown sugar
- 1 Tablespoon all-purpose flour
- 1 teaspoon pumpkin pie spice (store-bought or homemade pumpkin pie spice)
- 1 teaspoon pure vanilla extract
- pinch of salt
Maple Icing
- 1 cup (120g) confectioners’ sugar
- 3 Tablespoons (45ml) pure maple syrup
- 1 Tablespoon (15ml) milk
- 1/2 teaspoon maple extract or vanilla extract
- pinch of salt
Instructions
- Make the crust ahead: Prepare either pie crust recipe through step 5. (Again, I use and recommend this all-butter pie dough.) The dough must chill for at least 2 hours in the refrigerator (or up to 5 days) before using.
- Roll out the pie dough: On a lightly floured work surface, roll out one of the discs of chilled dough (keep the other one in the refrigerator). Turn the dough about a quarter turn after every few rolls. At any sign of sticking, sprinkle some flour underneath, then keep rolling. Roll out until it’s about 1/8–1/4-inch thick. Place a bowl that’s about 5 inches in diameter upside down on the pie dough. (If you don’t have a bowl this size, cut a 5-inch circle from a piece of paper and use that as your guide.) Using a sharp knife, cut around the outside of the bowl. You should now have a 5-inch circle of pie crust. Repeat; re-rolling scraps as needed. Place cut circles on a plate/baking sheet in the refrigerator to keep cold. The colder the shaped dough, the easier it is to work with. Repeat with 2nd disc of pie dough and refrigerate all cut circles for at least 15 minutes before filling the hand pies. You should have about 12–16 circles in total.
- Meanwhile, preheat oven to 400°F (204°C). Line two large baking sheets with parchment paper or silicone baking mats.
- Make the filling: In a medium bowl, whisk together the pumpkin, egg, brown sugar, flour, pumpkin pie spice, vanilla extract, and salt until completely combined. (Makes about 1 and 1/2 cups of filling.)
- Assemble the hand pies: Spoon and spread filling, about 1.5–2 Tablespoons per hand pie, onto one half of each crust circle, leaving a 1/4-inch border around the edges. Fold the bare half of the circle over top of the filling to make a half-moon shape. Press your fingers all around the edges to seal, then crimp the pie crust edges with a fork. Place the hand pies on the prepared baking sheets. Lightly brush the tops of the pies with egg wash. Using a sharp knife, cut 2–3 slits in the tops, to vent steam. At this point the hand pies can be baked, but if they don’t feel cool to the touch anymore, refrigerate for at least 15 minutes and up to 1 hour before baking. The colder they are going into the oven, the better they’ll hold their shape. (After 15 minutes, they may begin to leak a little pumpkin liquid out of the sides. That’s completely normal and fine. Blot it with a paper towel before baking.)
- Bake for about 22–25 minutes or until they’re golden brown on top and around the edges. Halfway through baking, rotate the baking sheets from top to bottom/bottom to top. Remove from the oven and allow the hand pies to cool on the baking sheets for 5 minutes, then transfer to a cooling rack to cool until ready to handle.
- Make the icing: In a medium bowl, whisk together the confectioners’ sugar, maple syrup, milk, maple or vanilla extract, and salt. When the hand pies are cool enough to handle, dip the tops of each into the icing. If the flaky layers of crust get stuck in the icing, switch to drizzling the icing on top instead of dipping. Place iced hand pies on a cooling rack set over a baking sheet or piece of parchment paper to catch drips. The icing will set in about 1 hour, but you can certainly enjoy the hand pies before that! Serve warm or at room temperature.
- Cover leftovers and store at room temperature for up to 1 day or in the refrigerator for up to 5 days.
Notes
- Make Ahead & Freezing Instructions: Un-iced pumpkin hand pies freeze well for up to 3 months. Thaw overnight in the refrigerator before dipping in icing and serving. Pie crust dough freezes well for up to 3 months. Thaw overnight in the refrigerator before using.
- Special Tools (affiliate links): Glass Mixing Bowls | Rolling Pin | Baking Sheet | Silicone Baking Mat or Parchment Paper | Whisk | Pastry Brush | Cooling Rack
- Pie Dough: Store-bought pie dough works here, but homemade all-butter pie dough creates a uniquely flaky, crisp, and buttery crust for the pumpkin filling. You could also use my shortening and butter pie crust if desired. Or feel free to use your own favorite pie crust recipe that yields 2 crusts.
- Pumpkin: Canned pumpkin puree is best in this recipe. I use and recommend Libby’s brand. You don’t need a whole can, so here is a list of recipes to make with leftover pumpkin. If using fresh pumpkin puree, lightly blot it before adding to remove some moisture. The bake time may be longer.
- Alternate Shapes: You can shape the hand pies however you want. For apple hand pies, I use a 3.5-inch round cookie cutter and keep them round. You can use a similarly sized pumpkin-shaped cookie cutter, such as this one. I don’t suggest anything smaller than 3.5 inches in diameter because you can’t fit much filling in a pie that small. You can also shape into rectangles. See my homemade brown sugar cinnamon pop tarts as an example. For those I use a ruler and cut into 3×4-inch rectangles. Bake time will be more or less depending on hand pie size—just bake until crust is golden brown. Use the same oven temperature.


